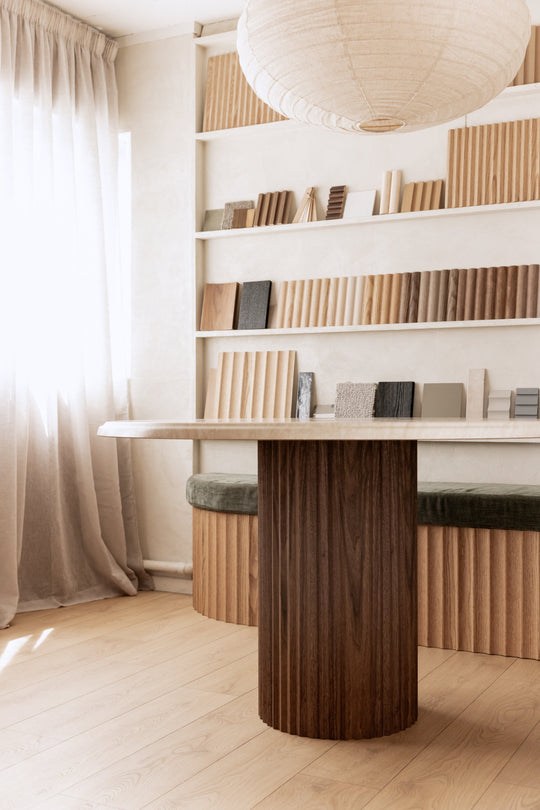
DIY Your own Table Base using Feature Panel's Flex Profile in Peak

Step by Step ~ how we made our Feature Panel Table
We scored this French made table at our local opshop and decided to modernize it using the Peakflex range in Black Walnut.
Materials Needed:
- MDF sheet (thickness according to your preference. We used 15mm)
- Wooden uprights
- Feature panel
- Wood glue Glue (Sikaflex Extreme Grab)
- Clamps/straps
- Jigsaw
- Sandpaper
- Circular saw or table saw
- Drill and screws/ or nails and hammer
-
Oil/stain - we suggest Osmo
Step 1: Prepare Your Materials
Measure and mark the 388mm diameter circle on the MDF sheet. This will be the base of your table. Cut out the circles (we suggest 3x circles as seen in our 'how to video via Instagram here) using a jigsaw or band saw. Sand the edges to smooth out any rough spots - we used a router for this.
*Note that the width of our 1220 (W) panels creates a 388mm diameter, a perfect circle without any waste or the need for additional panelling.
Step 2: Design and Cut Uprights
Determine the desired height for your table base. Cut the wooden uprights to the desired length. These uprights will provide support for the table. Place one MDF circle at the top, middle and base and evenly space them with the uprights.
Step 3: Arrange Uprights
Place the cut wooden uprights evenly around the perimeter of the MDF circles. Glue then nail or screw.
Step 4: Attach Feature Panel
Measure and cut the feature panel to fit around the base.
*Note that the width of our panels creates a 388mm diameter, a perfect circle without any waste or the need for additional panelling.
Apply Sikaflex 118 Extreme Gab glue to the uprights of your plinth base and to the surrounds of your MDF circles. Wrap the Feature Panel onto the face of the table base, ensuring it aligns well at the join. Use clamps/ties or straps to hold the feature panel in place while the glue dries.
Step 5: Finishing Touches
Apply wood stain, oil, or varnish according to your preference to protect and enhance the appearance of the table base. Allow the finish to dry.
*We applied a clear Osmo oil.
Step 6: Assemble with the Tabletop
Once the table base is complete and finished, secure the tabletop to the base. We used the same Sikaflex glue to attach our top to the base.
Enjoy your beautiful new table!
How to video also available via our Instagram page here.
*Disclaimer, we’re by no means furniture builders ~ but we sure do know how to make the most of our flex range.

